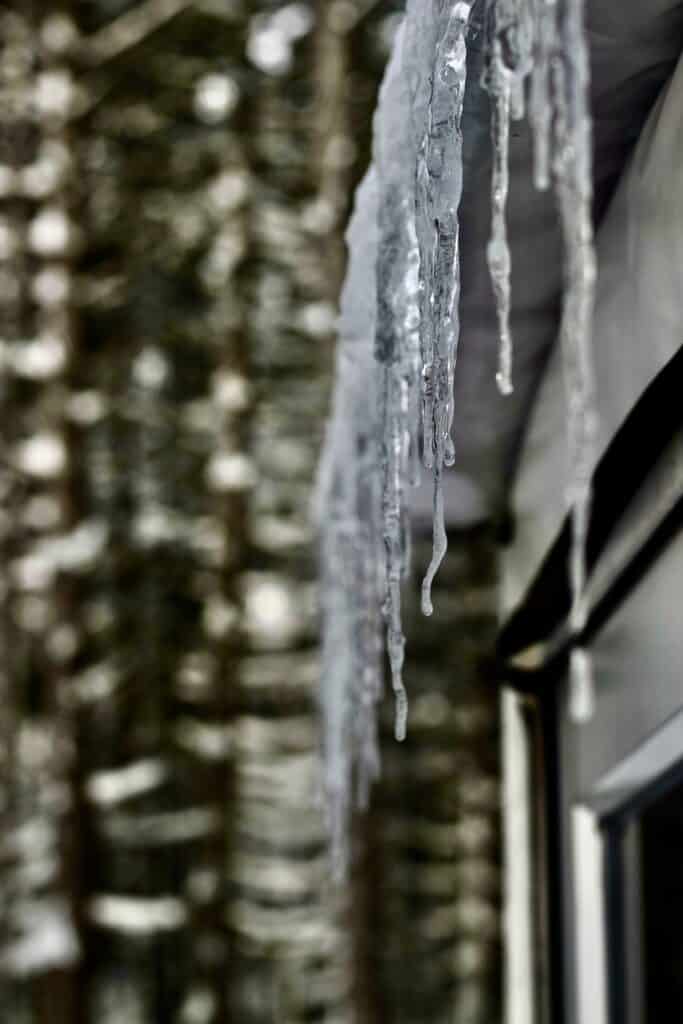
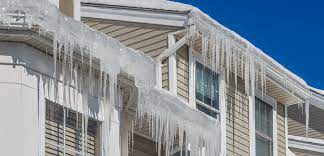
Ice is one of the most hazardous substances that can affect your roof throughout the winter. Small amounts of ice building can result in dangerous fissures and harm to the roof’s structure, endangering the safety of the entire house. The use of heat cable is one method of reducing the risk of ice building up on your gutters and roof line. Heat cables are also called heat tape.
Make safety a Priority
Each year Omaha area hospitals see injuries from homeowners falling off ladders, please review our ladder safety blog before using a ladder for any home project, not just roofing projects.
Heat Cable: What Is It?
Omaha has seen some pretty cold winter seasons, in any chilly environment where there is a chance of ice formation, heat cable is a wise investment of time and money. The intention is to install this cable along the roofline and gutters where ice dams typically form. This typically occurs inside the home’s gutters, downspouts, and along the eaves. It works to stop ice from forming in certain locations when placed appropriately.
Why Should Heat Cable Be Installed?
Ice dam formation can be avoided with the use of heat cable or heat tape. Ice dams form when snow and ice on the roof start to melt, frequently as a result of the home’s interior heat. The moisture descends the roof as a result, but it freezes over once more before it has a chance to dry out or run into the gutters. This causes your roof and eaves to have significant overhangs.
Additionally, the freezing and melting can lead to a split between the flashing and the shingles, opening up spaces for water to enter your house and harm the structure. In other words, heat wire is made to remove this risk by preventing the freezing and refreezing cycle that occurs with ice and snow.
How to Install Heat Cable: The Steps
Follow the basic instructions in this video to learn how to install heat tape. Here is a brief summary of what to anticipate throughout the procedure.
- Measuring
You must first determine how much cable you’ll need before you can begin. To begin, determine the length of the roofline. Then, determine how far back the eave extends from the home’s wall to the edge of the roof.
The roof line measurement should be multiplied by four if the overhang is 12 inches. You need multiply by 5.3 if it is greater than this, up to 24 inches. Add 6.8 to the roof line measurement if the eave depth is between 24 and 36 inches, which is an even higher depth.
The downspouts’ length must also be measured. Include this length in your total need. Measure the distance from the edge of the roof where the cable will start and the location of the outlet where it will be plugged in. You should now have a better notion of how much cable you require.
- Cable Routing
Place your cable only when it is safe to access the roof and it is dry and windless outside. Beginning with the electrical outlet you intend to utilize, route the cable. It needs to be clipped to a shingle in the beginning. This should be done on a shingle that is higher up on the roof than the exterior wall. By doing this, the entire roof overhang is protected.
- Establish a Loop
The cable should then be re-run to the gutter. Create an up-and-down pattern by doing this at an angle. Form a loop out of it. The very last shingle is where you will clip the cable to. The loop should typically extend into the gutter at least partially most of the time.
- Proceed with the installation along your roofline
Along this space, you’ll run the cable at an angle up and then down to the gutter in a zigzag pattern. Construct a triangle. Aim for a 15-inch gap between each of these. Make sure to attach the cable to a support at each high point.
- Go through the gutters
This procedure must be continued all the way to the rooftop. After doing that, you must insert the heat cable into the gutter itself. You can either attach it in loops over the gutter or place it along the gutter’s inside bottom.
When you reach a downspout, you should feed the cable through it while ensuring that a loop extends as far as possible. You’ll reach the last downspout if you keep doing this, moving along the gutters, looping into the downspouts, and moving forward till the end. The outlet should be reached if you drop the cable into it.
All that’s left to do is plug it in at this point. A GFCI outlet should only be used to plug it in. When you do, make certain you can feel it warming up and turning on. It won’t need to be plugged in until snow starts to fall. Save electricity by waiting until then to connect it in.
How long is heat cable good for?
Always take your time with this process to make sure everything is completed correctly. Keep the cable as close to the surface as you can and make careful to secure it. You will put extra wear and tear on it when you do this.
When placed properly, a heat cable typically lasts between three and five years. Unfortunately, because to the exposure to the elements, it does not endure much longer than that. For the best results, investing in high-quality products and installing them correctly are crucial.
Ask for help when you need it
You may utilize a variety of online tutorials and tools to help you put heat tape or heat cable to your roof. However, for some people, it can be more convenient to hire an Omaha roofing company to do a roof inspection any repairs and heat tape installation. Reduce your hazards when on the roof by asking for assistance when you need it.