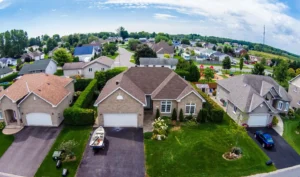
Renowned for its robustness and low upkeep, vinyl siding is a homeowner’s favorite.
Yet, even the toughest materials may falter under certain conditions. It’s vital to promptly rectify any issues related to the vinyl siding repair to avert additional damage and to keep pests away.
This manual will help you understand how to repair vinyl siding, providing essential insights and a step-by-step guide for homeowners eager to take matters into their own hands and save a few bucks.
Unraveling Vinyl Siding Damage: Causes and Consequences
Despite its sturdiness, vinyl siding isn’t immune to damage. Here’s what can cause the damage:
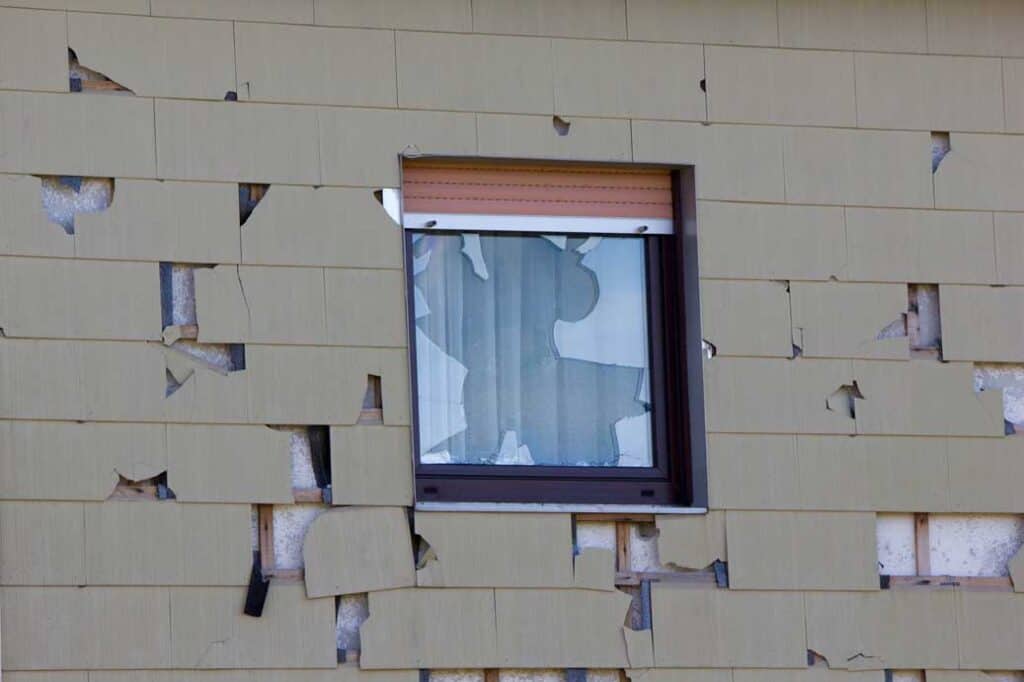
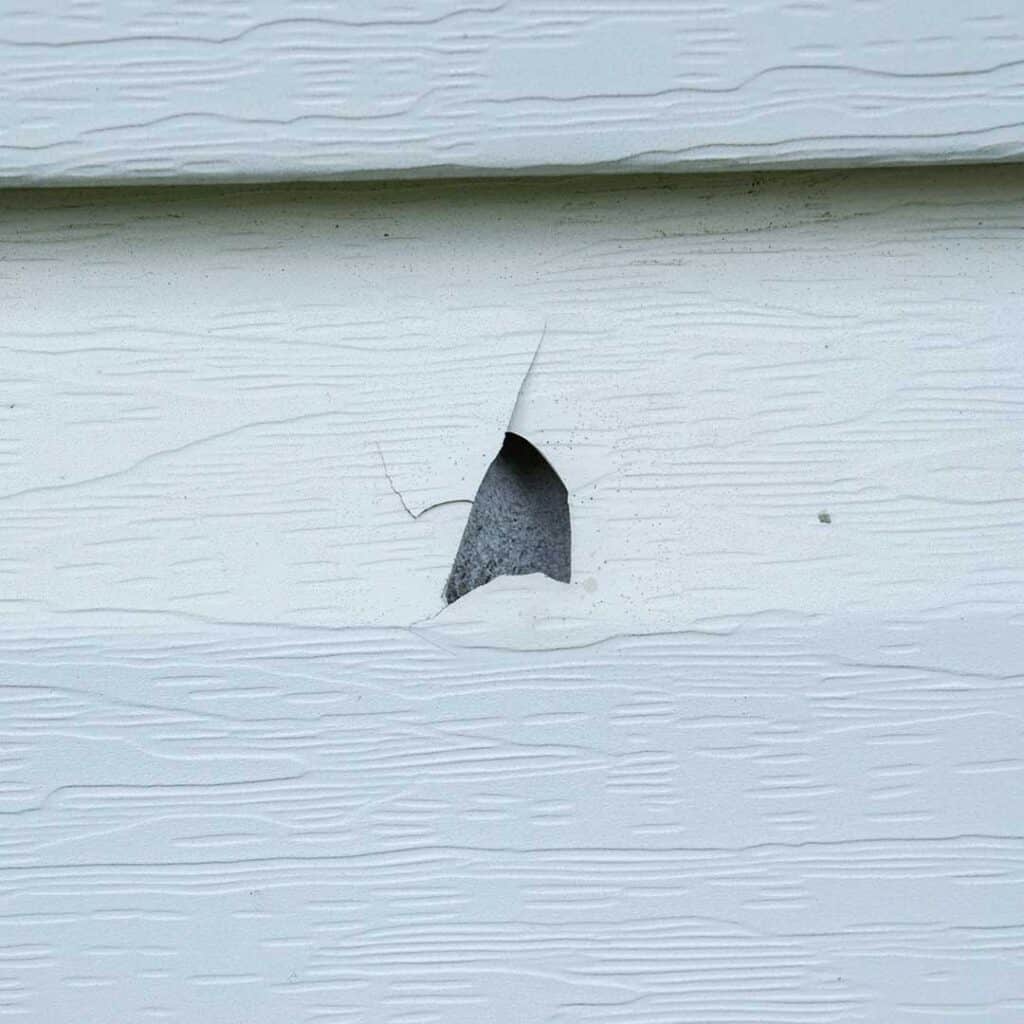
- Impact: Hail, airborne debris, or unintentional bumps with lawn equipment can dent or crack your siding.
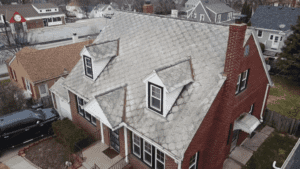
- Weathering: Long-term exposure to harsh weather conditions, such as extreme temperatures or heavy rain, can cause vinyl siding to deteriorate over time.
- Mold and Mildew: Moisture accumulation can foster the growth of mold and mildew on your siding, leading to unsightly stains and potential structural issues.
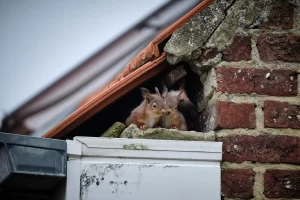
- Insect Infestations: Damaged or loosened vinyl siding can offer an entry point for insects, potentially leading to pest infestations within your home.
Overlooking these issues can lead to more comprehensive and costly repairs in the future. To preserve your budget and your home’s structural integrity, it’s essential to tackle vinyl siding damage as soon as it surfaces.
Reviving Vinyl Siding: The DIY Way
Fixing vinyl siding doesn’t have to be an uphill battle. Armed with the right tools, materials, and a dose of patience, you can effectively restore the aesthetics and functionality of your siding.
Preparations Prior to the Repair
Prior to starting the vinyl siding repair, ensure safety with appropriate gear like safety glasses and work gloves. Evaluate the damage carefully to understand its extent. Assemble essential tools and replacement materials beforehand to streamline the process. Patience and thorough preparation are key for a successful repair.
Revitalizing the Siding
Follow this step-by-step guide to navigate through repairing your vinyl siding:
- Evaluate the Damage: Conduct a thorough examination of your vinyl siding to assess the damage. Note any cracks, holes, dents, or areas with missing siding. This evaluation will help you grasp the scope of the repair.
- Prep the Affected Area: For minor damages like small holes in your vinyl siding, caulk can do the trick. For effective adhesion, it’s crucial to ensure the damaged area is clean. Use a microfiber cloth and warm, soapy water to thoroughly remove any dirt and debris from the damaged section.
- Assemble Supplies: You’ll need a few essential tools and materials for the repair, including replacement siding pieces, a utility knife, a zip tool, a pry bar, a hammer, nails, and color-matching vinyl caulk. Ensuring you’re ready before starting the repair process will allow for a smoother DIY repair journey.
- Extract Damaged Siding: To remove the damaged siding, use a zip tool to unlock the piece above the damaged section. Gently slide the zip tool beneath the overlap and pull downwards. Then use a pry bar to remove the nails holding the damaged piece in place. Be mindful not to harm the surrounding siding during this process.
- Prepare the New Siding: Measure the length of the damaged section you removed and cut the replacement siding piece to match this length using a utility knife. Ensure the new piece matches the profile and color of your existing siding.
- Install the New Siding: Slide the replacement piece into the space you created by removing the damaged section. Nail it into place, making sure that it aligns correctly with the surrounding siding. Use color-matching vinyl caulk to seal any gaps or joints.
- Ensure a Secure Fit: After installing the new piece, check for a secure fit and make any necessary adjustments. The repaired section should blend seamlessly with the rest of the siding.
- Clean and Maintain: Once the repair is complete, clean your vinyl siding to remove any dirt or stains. Regular upkeep, such as cleaning and inspecting your siding, can help ward off future damage.
The Perks of DIY Repairs
Fixing vinyl siding yourself can be a cost-effective and rewarding endeavor. Here are several reasons to consider a DIY approach:
- Cost Savings: Enlisting a professional contractor for vinyl siding repair can be pricey. By doing it yourself, you save on labor costs and only need to invest in the materials and tools required for the job.
- Swift Repairs: Taking the DIY route allows you to address the damage promptly. This prevents minor issues from spiraling into major problems requiring a complete siding replacement.
- Boosted Home Value: Maintaining your home’s appearance and structural integrity by repairing vinyl siding can enhance its curb appeal and overall value. A well-maintained exterior is crucial for creating a positive first impression.
- Personal Satisfaction: Successfully completing a DIY project can be incredibly fulfilling. It allows homeowners to take charge of their home maintenance and build valuable skills.
When to Call in the Pros
It’s essential to recognize that repairing vinyl siding isn’t always a DIY job. If the damage is extensive, affects a large portion of your siding, or is due to structural issues, seeking professional assistance is advisable.
Also, if you’re not comfortable with using tools like drills, or if the siding repair is high off the ground, it’s safer to enlist the help of an experienced contractor. Professionals possess the expertise and equipment to handle complex repairs, ensuring the task is executed correctly and efficiently.
Moreover, if your vinyl siding is still under warranty, using a professional may be necessary to maintain coverage. In these cases, relying on their expertise is the wise choice to protect your home’s integrity.
In Conclusion
Vinyl siding is an excellent choice for homeowners seeking a durable and low-maintenance exterior option. While it is designed to withstand various environmental challenges, damage to it can ail over time.
Mending vinyl siding yourself is a practical and cost-effective solution, so long as you follow the right steps and safety measures. By promptly addressing any abnormalities in your vinyl siding, you can shield your home from further deterioration and potential pest infestations.