Your home likely conjures many thoughts about warmth, comfort, decor, and, presumably, your mortgage payments.
Rare is it that gutters come to mind.
After all–if your home was a movie–gutters would be in the supporting cast, despite how crucial they are.
Our minds always go to the stars–even the co-stars of a movie, just like it goes to our more visible or big-ticket features in our home. However, without the supporting cast holding down the fort, the leaks and cracks would begin to formulate, and suddenly, the plot would be lost.
Similarly, our homes suffer significantly when our gutters falter, causing cracks in the foundation, leaks, water damage that rots your siding and seeps into walls/windows, and so on.
Why Is It So Important To Fix Malfunctioning Gutters?
The usual range of repairing water damage (a result of broken gutters) is $1,309 – $5,932.
Failing gutters could also damage your home’s landscaping because they won’t correctly reroute water, drowning any adjacent flowerbeds/gardens, etc. This could negatively impact your curb appeal.
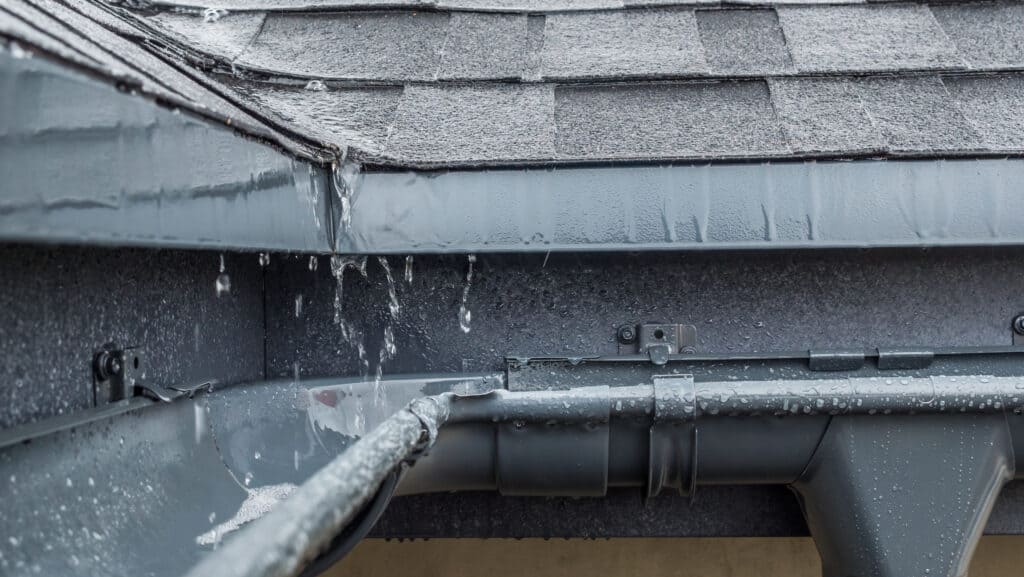
So, once you notice your gutters sagging or water pooling at the base of your home, it’s time to consider repairs.
You can save money on this home improvement project by DIYing it. This process can be daunting–but Canopy is here to help with some expert tips to fix common issues in traditional gutters.
Tools And Materials You’ll Need To Replace Or Fix Your Gutters
Here’s a list of tools you’ll need to DIY your gutter repair:
● Hacksaw.
● Cordless drill.
● Ladder.
● Garden hose.
● Drill bits and drivers.
● Tin snips.
● Leather gloves.
● Chalk snap line.
● Bubble or laser level.
● Pencil and marker.
● Tape measure.
● Putty knife.
● Stiff bristle wire brush.
● Safety glasses.
And here are the materials required for the job:
● Gutters.
● Gutter slip joint connectors.
● Gutter sealant.
● Gutter end caps.
● Fascia hanger bracket.
● Downspouts (if necessary).
● Hex head gutter sheet metal screws.
Lastly, here are some optional materials:
● Downspout U-brackets.
● 75-degree downspout elbow.
● Downspout drop outlets.
● Extra fascia board.
● Flexible downspout extension.
Steps For Replacing A Section Of Gutters
A damaged section of your gutters might require you to replace the affected section with a new fitted gutter section. You can also patch it or replace your gutters entirely.
Tin snips or a saw are needed if you cut a new section to shape the new piece to length. Also, a new gutter piece must overlap with existing gutters on both sides.
With all this said, here are some helpful steps for gutter section replacement.
Step 1: Area Preparation
Clean the debris and dirt from your gutters with a garden hose, and use a putty knife to scoop the twigs. Scrub away rust spots with a stiff wire brush and let the area dry.
Step 2: Old Gutter Removal
Remove the gutter brackets and screws that are keeping old gutters in place with a screwdriver or cordless drill. Prevent the gutter sections you’re keeping from losing shape by inserting spaces into them.
Step 3: Cutting Gutters To Length
Flip a gutter section upside down on a work table, measure it, and mark the correct cutting length. Then, use your hacksaw or tin snip to cut. Keep slow and steady to maintain the straightness of your line. Also, rotate the gutter when necessary to ensure the cut remains straight.
File sharp edges down if you’re cutting aluminum gutters.
Step 4: New Gutter Installation
Apply sealant to each side of the new gutter section to your current gutter section to join them. This will ensure water won’t leak through the joint.
Use stainless steel screws or rivets at the side of the joint to secure the joined sections. Prevent leaks by NOT adding rivets or screws at the bottom of the joints.
Wait for the sealant to dry. Then, if necessary, reattach fascia hanger brackets. Measure the gutter slope for optimal drainage. Ensure gutters drop a quarter inch for every 10 feet of gutter.
Repairing Gutter Holes
Rusting or screw-related damage can lead to gutter holes. Fix smaller holes with roofing cement or sealant. More substantial holes will necessitate a flashing installation.
Clean the area you’ll be sealing, then follow these two steps.
Step 1: Sealant Application
Apply a small dab of sealant (or roofing cement) onto a putty knife and spread it over the hole until it forms a thin, consistent layer.
Step 2: Large Hole Patching
You’ll need to cut flashing with tin snips to cover holes of a more substantial size. There should be an overlap around the gap.
Roofing cement or sealant will secure the flashing. Spread it with a putty knife, making a flat, thin layer, and let it dry.
Repairing Sagging Gutters
Loose brackets or debris accumulation can cause your gutters to sag.
These repairs aren’t time-consuming, and they require a screwdriver to repair bent/loose brackets or to fix stripped screws.
Here are the necessary steps to follow for fixing sagging gutters:
Step 1: Gutter Slope Measurement
Fixing sagging gutters requires a diagnostic process.
Once you notice a potential sag, use a laser or bubble level to discover where the sagging has begun. Note, again, how functioning gutters drop a quarter-inch per every 10 feet.
Step 2: Finding Damaged Gutter Hangers
Identify the gutter hangers you’ll need to replace before determining how to replace them. This can be done individually, or you can remove multiple hangers simultaneously.
Say you do remove several hangers at once. In this instance, ensure that enough of them remain to support the gutter.
Step 3: Remove Old Gutter Hangers
Remove fasteners and screws from gutters and hangers with a cordless drill. Replace gutter screws before removing and replacing hangers. Screws and hangers might need screws driven in new places to be adequately secured.
Step 4: Fasten Hangers And Screws
Attach the gutter to the fascia with two support screws.
Use a cordless drill to install the screws in existing non-stripped holes or into nearby holes. Space gutter hangers three feet apart (at most) during installation to ensure they support the gutter.
Reach Out To AGR With Your Questions
Is there a gutter repair you want to DIY that we haven’t covered (e.g., leaks behind your gutters or downspout joint repairs)? If so, contact AGR with your questions. We’ll offer expert insights to help you get the job done right.
Also, hire a professional if you’re not confident or comfortable performing these repairs. Your safety and peace of mind are worth more than the dollars saved by DIY efforts.