Affordability is something you can never sleep on as a homeowner. Life keeps getting more unpredictable and expensive by the day. Who knows what financial obstacles and burdens you might face tomorrow?
Thus, the decisions you make today—especially involving your home, finances, and long-term investing—are of the utmost importance.
You don’t necessarily want to sacrifice quality and comfort, but you still want to reduce costs wherever possible.
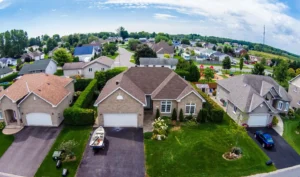
Regarding your home’s roof, asphalt shingles are cost-efficient and of a high enough quality to provide tremendous value.
While asphalt shingles are one of the most upfront affordable roofing options, the cost of labor can still set you back, depending on your current financial circumstances.
Thus, some homeowners opt to DIY their asphalt shingle roofing installation and replacement, vastly reducing labor costs.
Should You DIY Your Asphalt Shingle Roofing Installation Or Replacement?
Typically, your best choice is paying a professional roofer to install your asphalt shingles—even if it costs a little extra. This way, you best ensure the long-term quality of the project. Also, you avoid many pitfalls of working on a roof, including safety risks and the strenuous rigors of hard labor.
All the same, many homeowners are very adept at DIYing. They have the skills to handle this project by themselves, vastly reducing the overall installation cost.
Confidence is crucial here. You need to know you’ll get the job done right before diving in head first. Provided you’re skilled enough as a DIYer, the following tips will help you install your asphalt shingles with minimal hassle:
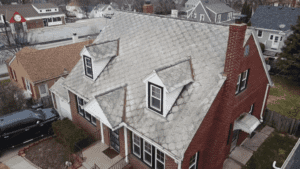
Step 1: Getting Rid Of Old Shingles
Any time you install something new, you’ll likely replace something old. With asphalt shingles, you’ll have your home’s current shingles to deal with. There’s also underlayment and nails to remove.
Use a roofing shovel—a tool specifically designed to wedge beneath shingles—to get the job done quickly. Sensitive areas (e.g., chimney and siding) require special care, doubly so if you wish to reuse the flashing.
Step 2: Eliminate Erroneous Debris
Use a hammer, your hands, and some old-fashioned elbow grease for stubborn shingle removal.
Stray nails and felt fasteners might linger on your roof, so you must scan the area before installing anything new. Use a still-bristled broom to rid your roof of all remaining debris that could hamper your asphalt shingle installation project.
Step 3: Perform A Roof Deck Inspection
DIYing your shingle replacement or installation project offers you another adjacent opportunity—you can inspect your roof deck for the following issues:
● Warping.
● Water damage.
● General damage.
● Unevenness.
Remedy these issues (if they exist) before moving forward with your asphalt shingle installation. This might initially seem inconvenient, but it will save you from long-term disaster.
Step 4: Drip Edge Installation
Drip edges can be installed once all debris and previous shingles are removed, and you’ve ensured your roof deck is in good shape.
Prioritize aligning your drip edges correctly. Doing so matters far more than how you nail. They should be spaced away—around a half inch—from the fascia board.
Step 5: Underlayment Installation
Do you not have any prior roofing experience or with installing felt paper? If not, you’ll need to pay extra attention to this section.
You might notice one strip isn’t long enough for complete roof-length coverage—especially if you have a large roof. Read the underlayment packaging for instructions. It’ll tell you how to stagger the sections to navigate this issue.
Overlap the strips by around 50% of their width. Don’t introduce any wrinkles or folds while you work.
We can’t stress the importance of this step enough. It’ll likely be the most challenging and time-consuming task for new roofers and must be performed precisely.
Step 6: First Row Installation
Your starter strip—the first row of shingles—requires a half-inch overhang from the drip edge.
To achieve the desired overlap, measure your shingle height, marking the underlayment with a line where the top edge needs to be.
Trimming the first row might be necessary to ensure the tar strip’s closeness to the roof edge.
Step 7: Marking Your Roof
You’ll streamline this project significantly using a chalk line to make a six-inch, horizontally spaced grid (and five-inch vertically spaced). Nailing down your remaining shingles without error will now be much easier because you’ll ensure optimal exposure and overlap.
Step 8: The Remaining Shingle Installation
One of the more arduous tasks when installing the remaining shingles on your roof is cutting them to optimize their horizontal offset.
There are two ways to go about this process: Cutting everything at once before starting. Or cutting on the go. Choose what works better for you.
Use roofing nails to affix the shingles to the roof while following shingle packaging instructions.
Some suggest using up to six nails per shingle, but four is the more frequently recommended number. Increasing the nail amount might be better in high-wind areas.
Regardless of your chosen nail amount, the next shingles must overlap with nail heads by an inch (at minimum).
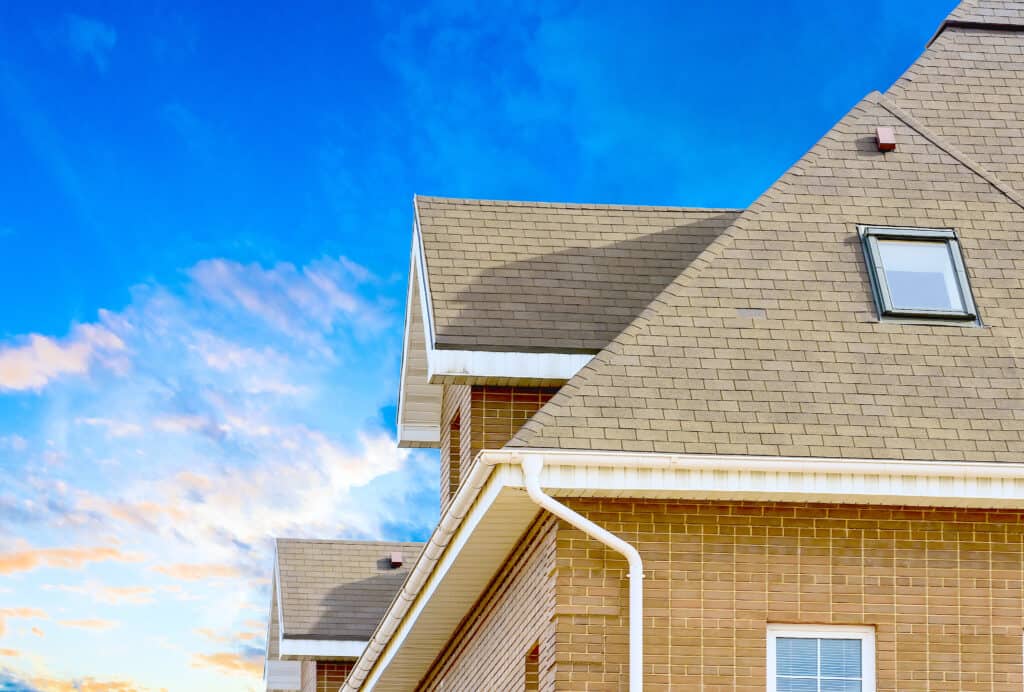
Step 9: Shingle Installation Around Structures
Chimneys, skylights, vents, and other structures will be factors you must navigate during shingle installation.
There’s no magic bullet solution here. Instead, you must cut the applicable shingles to size, combining them with some roofing cement to bind them to awkwardly shaped edges.
Don’t leave spaces anywhere, but specifically, don’t leave them around ridge vents.
Cutouts are tricky, so ensure you have extra shingles as replacements if you ruin a couple with inaccurate cuts.
Step 10: Ridge Cap Shingle Installation
The manufacturer will dictate how you install ridge cap shingles. Follow the instructions they provide.
Generally speaking, you’ll need to cut long enough shingle pieces for a five-inch overlap at the top course on each roof side.
Orient the built-in tar strip across the ridge, ensuring it faces perpendicular to the other shingles.
Step 11: It’s Cleanup Time
We suggest renting a dumpster and putting down tarps to ensure cleanup isn’t too intensive once the job’s done. You’ll only need to haul everything away if you’ve already done these two things.
Have more questions about DIYing your asphalt shingle installation? Ask AGR today, and we’ll be thrilled to provide further insights.