Although composite siding is an excellent addition to any home’s exterior, there can be a wide range of costs, especially if you want intricate designs and the highest quality. Fortunately, well-practiced DIYers can save a lot of money if they install composite siding on their own. Below is a guide on how to install composite siding in detail.

Installation Preparation
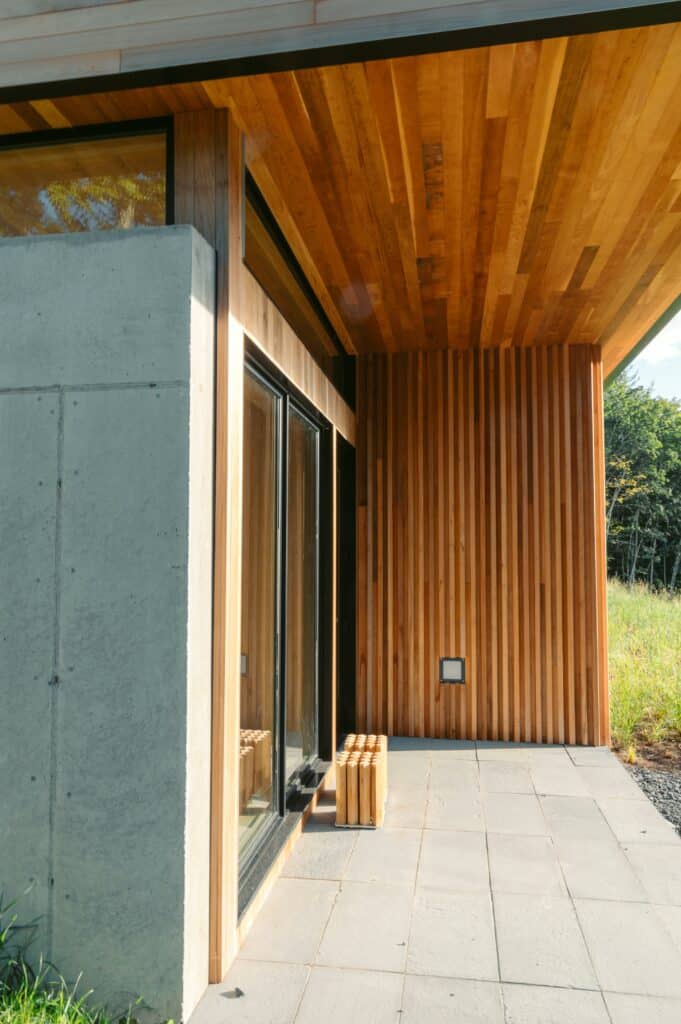
Below are the necessary tools for installing your composite siding:
● Using a circular saw equipped with a fine-tooth blade, the siding can be cut to the correct dimensions.
● The measuring tape accurately gauges both trim pieces and siding.
● A level guarantees that the siding is installed straight and level.
● Utilizing a hammer is imperative in fastening both trim pieces and accessors.
● Secure your siding and make pilot holes using a drill.
● Opt for either nails or screws to fasten the siding.
● Wearing gloves during installation will provide protection for your hands.
● Use a pry bar to take off your current siding.
● Wearing a dust mask during sanding and cutting will shield you from breathing in any dust particles.
● Safety glasses will prevent any foreign particles from entering your eyes.
When installing your composite siding, be sure to keep these safety factors in mind.
● Ensure that your workspace is free of clutter and hindrances.
● It is important to wear protective gear, such as gloves, safety glasses, and a dust mask, in order to stay safe from potential hazards.
● Please use caution around electrical outlets and overhead power lines.
● Ensure that you adhere to appropriate ladder safety procedures, which includes utilizing a strong and dependable ladder.
● Avoid installing in unfavorable weather conditions.
● Make sure you are aware of and comply with the building regulations in your area.
Detach Your Old Siding
To remove old siding, adhere to the following steps:
- When inspecting, make sure to remove any worn siding before installing new material. This ensures that any underlying issues are addressed, providing a strong foundation for your replacement siding.
- Employ a pry bar to carefully detach panels without causing harm to the underlying sheathing. Remain systematic as you work your way from one end to the other. Remove each panel separately. Discard any remaining fasteners or nails and clear away any debris.
- It may be necessary to utilize a reciprocating saw to eliminate certain portions.
- Prior to installation, ensure that the sheathing has been replaced and checked for both moisture problems and pest invasions.
Preparing the Area
Begin preparations for the area by using oriented strand board (OSB) or new plywood to replace any damaged sheathing. Make sure to properly secure the sheathing and check for any weaknesses.
Incorporate a high-quality house or building wrap as a weather-resistant barrier, as long as you do not already have one. Simply follow the installation instructions provided by the manufacturer.
Do you already have a weather-resistant barrier? Check for any punctures or tears and replace any damaged sections.
Ensure a tight seal around doors and windows by filling any cracks or gaps in the sheathing. This will prevent moisture from getting in, as well as minimize energy loss and drafts. Be sure to use a reliable, high-quality sealant for best results.
Measuring and Cutting the Siding
Obtain accurate measurements for the composite siding installation area by using a measuring tape. Take multiple measurements of both the height and width for optimal precision.
Additionally, take measurements of the windows and doors, allowing for some room for contraction and expansion.
The sharp teeth of a fine-tooth blade on a circular saw ensure accurate cuts. Look for blades designed for use with composite materials.
After measuring, use either a pencil or marker to mark the siding panel. Be sure to double check your markings before proceeding. Next, secure the panel to a stable surface to prevent movement while cutting. Follow the marked lines as you cut.
While cutting, it is important to protect yourself by wearing gloves, glasses, and a dust mask. Also, be mindful not to use excessive force.
Installing Starter Strips And Corner Posts
The starter strip and corner posts are crucial in providing a sturdy foundation for your siding installation. The bottom-most piece acts as an anchor and should be installed horizontally with careful alignment to the bottom edge. To ensure its straightness, use a level before fastening it securely to the wall.
Place the corner posts in a vertical position at the wall corners, ensuring their plumb and correct alignment. Follow the manufacturer’s guidelines to securely attach them to the framing and sheathing. It is important to be meticulous during this process and carefully verify the alignment and levelness.
Installing the Side Panel
To install your new siding panels, just follow these steps:
● When deciding on an installation style, consider either vertical or horizontal based on your aesthetic preference. Opting for a horizontal installation will result in a more traditional appearance, while going with vertical creates a more modern and eclectic feel. It is important to carefully follow the manufacturer’s instructions for proper installation, layout, and spacing.
● To guarantee the durability of your nails, make sure they are able to resist corrosion. They should also be of sufficient length to properly secure the siding and allow for sheathing penetration. If you opt for screws, refer to the manufacturer’s recommendations. Then, insert your chosen fastener into pre-drilled holes or attach it through screwing or nailing on the panel flanges.
● The key to achieving an aesthetically pleasing final product is maintaining consistent spacing between panels. To determine the appropriate spacing, refer to the manufacturer’s instructions. Using a straight edge or level can also assist in aligning the panels with corner posts and the starter strip.
Overcoming Obstacles such as Windows and Doors
Measure the dimensions of any door, window, or opening when installing siding in those areas. Use this measurement to mark and cut your siding panels, making sure to leave small gaps to account for expansion and contraction.
For accurate cuts, it is necessary to use a specialized jigsaw or fine-tooth circular saw. J-channel is an excellent option for professionally finishing window and door edges and providing added support to siding. Please follow the provided instructions from the manufacturer when installing J-channel around each opening. Additionally, decorative accents and trims can be installed using screws or nails.
Details for Finishing
For optimal results, it is important to use a reliable caulk or sealant to cover any gaps or joints that can be susceptible to air or water infiltration. Particularly, areas such as doors, windows, and overlaps with siding panels require thorough inspection and careful application.
Personalize your composite paneling (if desired) by applying a stain or painting it. Prior to any application, make sure the siding is completely dry and thoroughly clear of debris and dust. Utilize appropriate paint or stain specifically designed for use on composite siding.
Reach out to AGR to Learn More About Installing Composite Siding
While DIY may suggest completing the task on your own, it is perfectly acceptable to seek assistance from an expert if you encounter any difficulties. In fact, reaching out for help can provide valuable insight and support to help you successfully complete your project.
Do you need assistance with your DIY composite siding installation? If that is the case, contact AGR today with any inquiries. Our team is eager to offer helpful insights to ensure your project’s success.