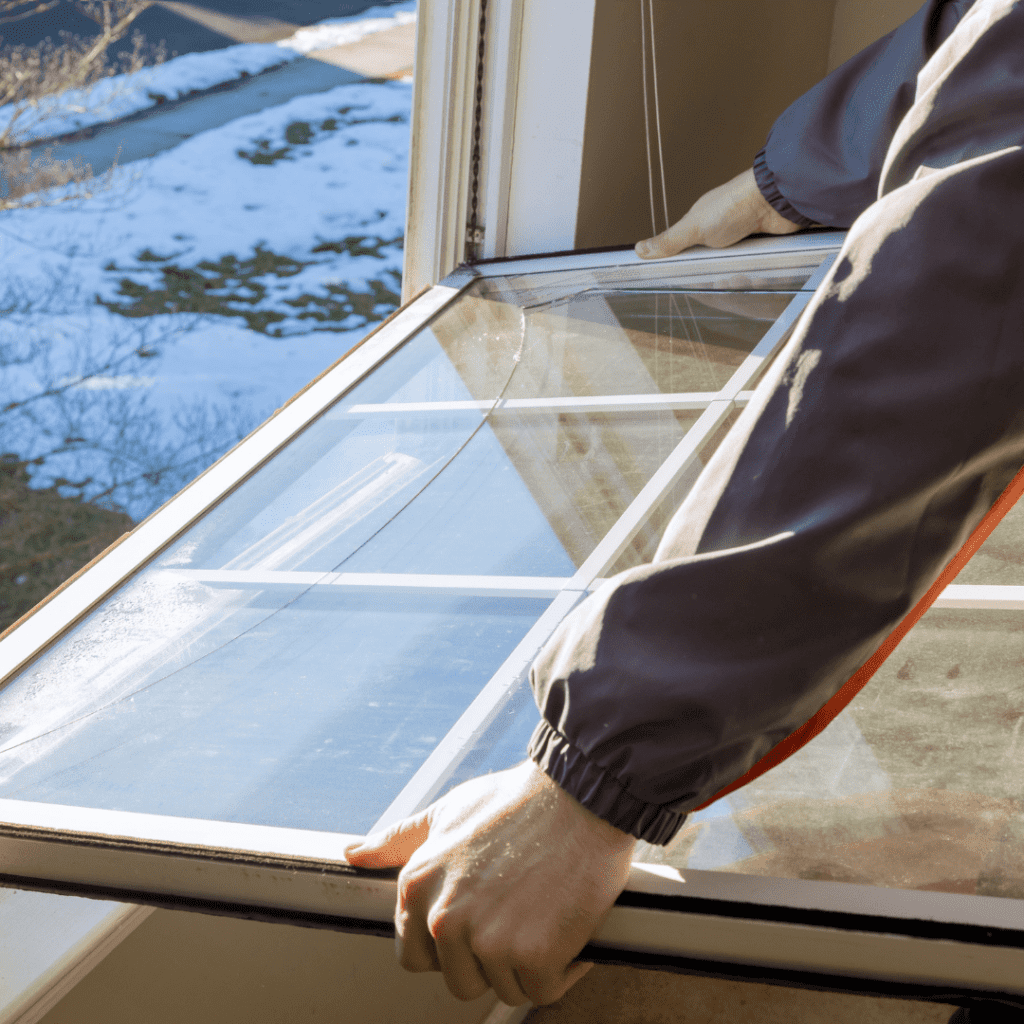
Window installation is a multifaceted task that requires attention to aesthetics, energy efficiency, and home security. It plays a crucial role in home renovation and can greatly enhance the overall appearance of a house. While seeking professional assistance is recommended, those with the necessary skills and bravery may find it to be a satisfying and affordable DIY project.
This guide will serve as your comprehensive roadmap through the process of installing replacement windows, offering step-by-step instructions and helpful tips to overcome common challenges along the way.

What Materials and Tools are needed?
Prior to beginning your window installation project, it is essential to gather all required tools and materials for the replacement process.
- Replacement windows
- Measuring tape
- Screwdriver
- Utility knife
- Level
- Shims
- Caulk gun
- Exterior trim and finish nails
- Insulation foam
- Safety glasses and gloves
- A helping hand (optional but helpful)
Armed with your assembled toolkit, you are prepared to embark on the window replacement journey. A well-equipped set of tools will streamline the installation process, enabling you to carry out the task without any unnecessary disruptions.
Step One: Taking apart the previous window
- To start, carefully use a screwdriver to take off the interior trim surrounding the current window. Be careful not to harm the wall or trim.
- Afterward, detach the sash and any mobile components of the previous window. The process may require unscrewing or utilizing a utility knife to break through layers of paint or caulk, depending on its design.
- Remove the exterior trim and any remaining components from the previous window as a final step.
At this initial stage, you prepare the canvas for your latest masterpiece – the window installation. The objective is to establish a pristine window opening, paving the way for your fresh installation.
Step Two: Cleaning and Preparing the Opening
- Ensure the window opening is free from any loose debris, dust, or old caulk. A tidy surface will facilitate a seamless installation. The use of a scraper may assist you in this task.
- Examine the opening carefully for signs of damage, decay, or mold. If any problems are found, they must be addressed by replacing or repairing the affected parts to maintain the structural integrity of the installation. Take your time during this process and thoroughly inspect to avoid potential issues in the future.
Step Three: Installing the New Window
- Checking Fit: Begin by inserting the new window into the opening to assess its fit. It should neither be too loose nor too snug, but just snug enough for a secure fit.
- Applying Caulk: When applying caulk to the exterior side of the window frame, ensure a continuous and even bead for a strong seal and structural support.
- Inserting Window: When inserting the window, it is important to carefully place it in the opening and make sure it is both centered and level. This step is crucial and requires precise execution for a flawless fit.
- Placing Shims: To ensure the window remains level and adequately supported, make use of shims during installation.
- Securing the Window: To secure the window, drive screws through the pre-drilled holes in the frame once it has been leveled.
- Performing Operational Check: It is essential to perform an operational check after securing the window by testing its smooth opening and closing, as well as ensuring a secure lock. This step is crucial in guaranteeing the functionality of the window before moving on to the next tasks.
Step Four: Sealing and Insulating
- Insulate the interior window frame with foam to create an airtight seal and minimize heat loss or drafts.
- Attach the interior trim using finishing nails for secure installation.
- Caulk should be applied to the seam where the interior trim and wall meet.
- Ensure that all gaps between the window frame and wall are caulked on the exterior. It is important to cover all areas thoroughly to provide extra protection against leaks and drafts.
Step Five: Exterior Finishing
- Ensure a clean and polished appearance by adding fresh exterior trim to cover any spaces between the window frame and wall. This will effectively hide any gaps or openings that may have been missed during installation.
- Afterwards, use caulk to seal all seams and create a weatherproof barrier for the window. This will ensure its ability to withstand any type of weather.
- If necessary, apply paint or finish to the exterior trim to harmonize it with your home’s appearance. This will aid in seamlessly integrating the new window with the rest of the house, elevating its overall aesthetic appeal.
Step Six: Final Inspection
- Thoroughly examine the window from both the interior and exterior angles for any signs of gaps, cracks, or damage. Take your time and refrain from hurrying through this step.
- Reevaluate the window to confirm proper functionality. It should smoothly open, close, and lock without any issues.
- Finally, make sure to let the caulk dry completely, following the guidelines provided by the manufacturer. This will guarantee the long-term strength and sturdiness of your recently installed replacement window.

Wrapping Up
By diligently following these steps and paying close attention to details, you can achieve a successful installation of replacement windows in your home. It’s crucial to exercise patience and adhere closely to the instructions for a smooth installation process. Keep in mind that this is a project that requires a lot of effort, and staying patient is necessary for its successful completion.
Installing a window correctly offers multiple benefits. It improves your home’s energy efficiency, appearance, and safety, as well as providing you with a sense of satisfaction for your handiwork. In case you encounter any challenges, remember to review your procedures patiently. And don’t hesitate to seek guidance from nearby home improvement stores or professional contractors to ensure the success of your project.


