Due to its appealing appearance, long-lasting nature, and minimal upkeep requirements, metal roofing has gained significant popularity among homeowners. However, the process of installing a metal roof differs from that of traditional shingles. If you’re considering this option for your new roof, it’s important to closely collaborate with the installation team to understand what to anticipate. Here is a brief summary.
Positioning the Underlayment
The underlayment is placed above the initial material on the roofing trusses, while the roof deck serves as the foundation for attaching the metal roof. Typically, it consists of either OSB or plywood. While it may not always require replacement, any damage should be addressed now. In all instances, it must be smooth, clean, and dry before installing the underlayment on top.
Various underlayment options are available, but a popular and superior choice is the self-healing ice-and-water membrane. Regardless of the selected type, proper placement of this base layer is essential in preventing moisture from seeping through.
Given the large variety of underlayment options available, it is advisable to adhere to the installation process recommended by the manufacturer. This involves fulfilling all overlap requirements for each roll, which is crucial in providing sufficient protection for the surface against fluctuating temperatures.
Placing the Drip Edge
Next, proceed with the installation of the drip edge, also known as the eave trim, which covers the eaves of the roof and redirects water away from the building. Beginning at a corner, apply each section in succession, slightly overlapping them by an inch. Utilize a hand seamer to securely wrap around all corners of the edge. Finally, seal any remaining seams with caulk or a sealant tape.
The usual procedure involves securing the trip with roofing nails at 12-16 inch intervals. Afterwards, the drip edge flashing must be installed along the eaves where gutters are present.
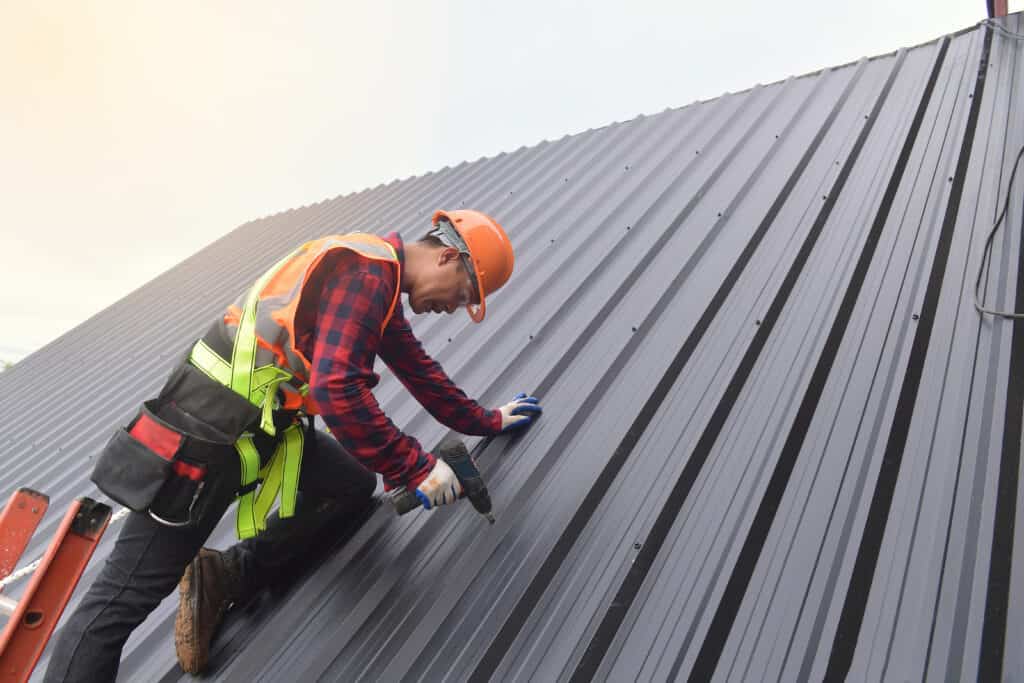
Placing the Metal Roofing Panels
After the initial foundation has been laid, the installation of the metal roof can begin. The corrugated panels are then placed on top of the drip edges. A helpful tip is to make sure each panel is aligned with the roofline to simplify the process. This type of roofing material leaves less margin for error compared to shingles.
The metal roof supplier may provide instructions for screw placement and spacing during installation. It is important to also consider any variations in local building codes. Keep in mind that the weight and size of the roof call for a specialized fastening system to properly support it, unlike a standard shingled roof.
Upon beginning the job, the roofer commences at a single eave of the roof and progresses upwards. As they advance, the panels will slightly overlap, following the manufacturer’s guidelines. Additionally, a roofing sealant is used at the junction points, in either seam tape or caulk form, to effectively secure the roof and safeguard against water damage.
The specialized metal roofing screws are essential for attaching each piece of metal roofing. It is important to avoid using traditional roofing nails, as they are not strong enough for this particular task. Additionally, it is crucial to follow the manufacturer’s recommendations for spacing.
In order to properly install this type of roofing, it is necessary for the roofer to cut the metal panels using a compatible circular saw blade. This task can be quite challenging, which is why it is advisable to entrust it to experienced professionals.
Placing the Closure Strips and Ridge Caps
After the initial placement of the layer, further tasks are required for the installation of the metal roof. The following step involves adding closure strips at each intersection of sloping sections. These strips serve to effectively prevent any moisture from seeping in and to block debris from entering the space below. Additionally, they contribute to providing a polished and expertly constructed appearance to the roof.
A variety of choices are at hand, including solid and vented closures. Opting for the vented versions would be most beneficial in terms of enhancing air circulation, although the decision should be based on the current roof’s ventilation arrangement.
Roofers begin by starting at the bottom of the roof and working their way upward. Initially, they place sealant tape on the ridge and then add closure strips. Often, they will also apply extra sealant tape on top of these strips.
The last step involves placing the ridge cap onto the closure strips, which are initially attached to the sealant tape. Afterwards, secure them in position by screwing them in place.
Perks of Metal Roofing
One of the top choices for roofing today is metal, as it offers a unique application process and boasts numerous benefits. This option stands out due to several key factors:
- With a lifespan of 40 to 70 years, these roofs outlast asphalt shingles by double the time. However, regular monitoring of each component is crucial to ensure its overall condition remains intact.
- The maintenance required is typically minimal, thanks to its long-lasting durability. This also means it can withstand even the toughest of weather conditions with ease.
- Metal roofing is an environmentally-friendly choice, as it is made from recycled materials and helps reduce energy consumption.
While a professional metal roof installation is usually recommended, a highly skilled and well-equipped DIYer may also be able to undertake this task. However, it is always advisable to have a professional handle the job to ensure a precise, tidy appearance with proper alignment and protection.